Install the PowerCLI Module
Before I can begin working with PowerCLI, I’ll first need to install the module.
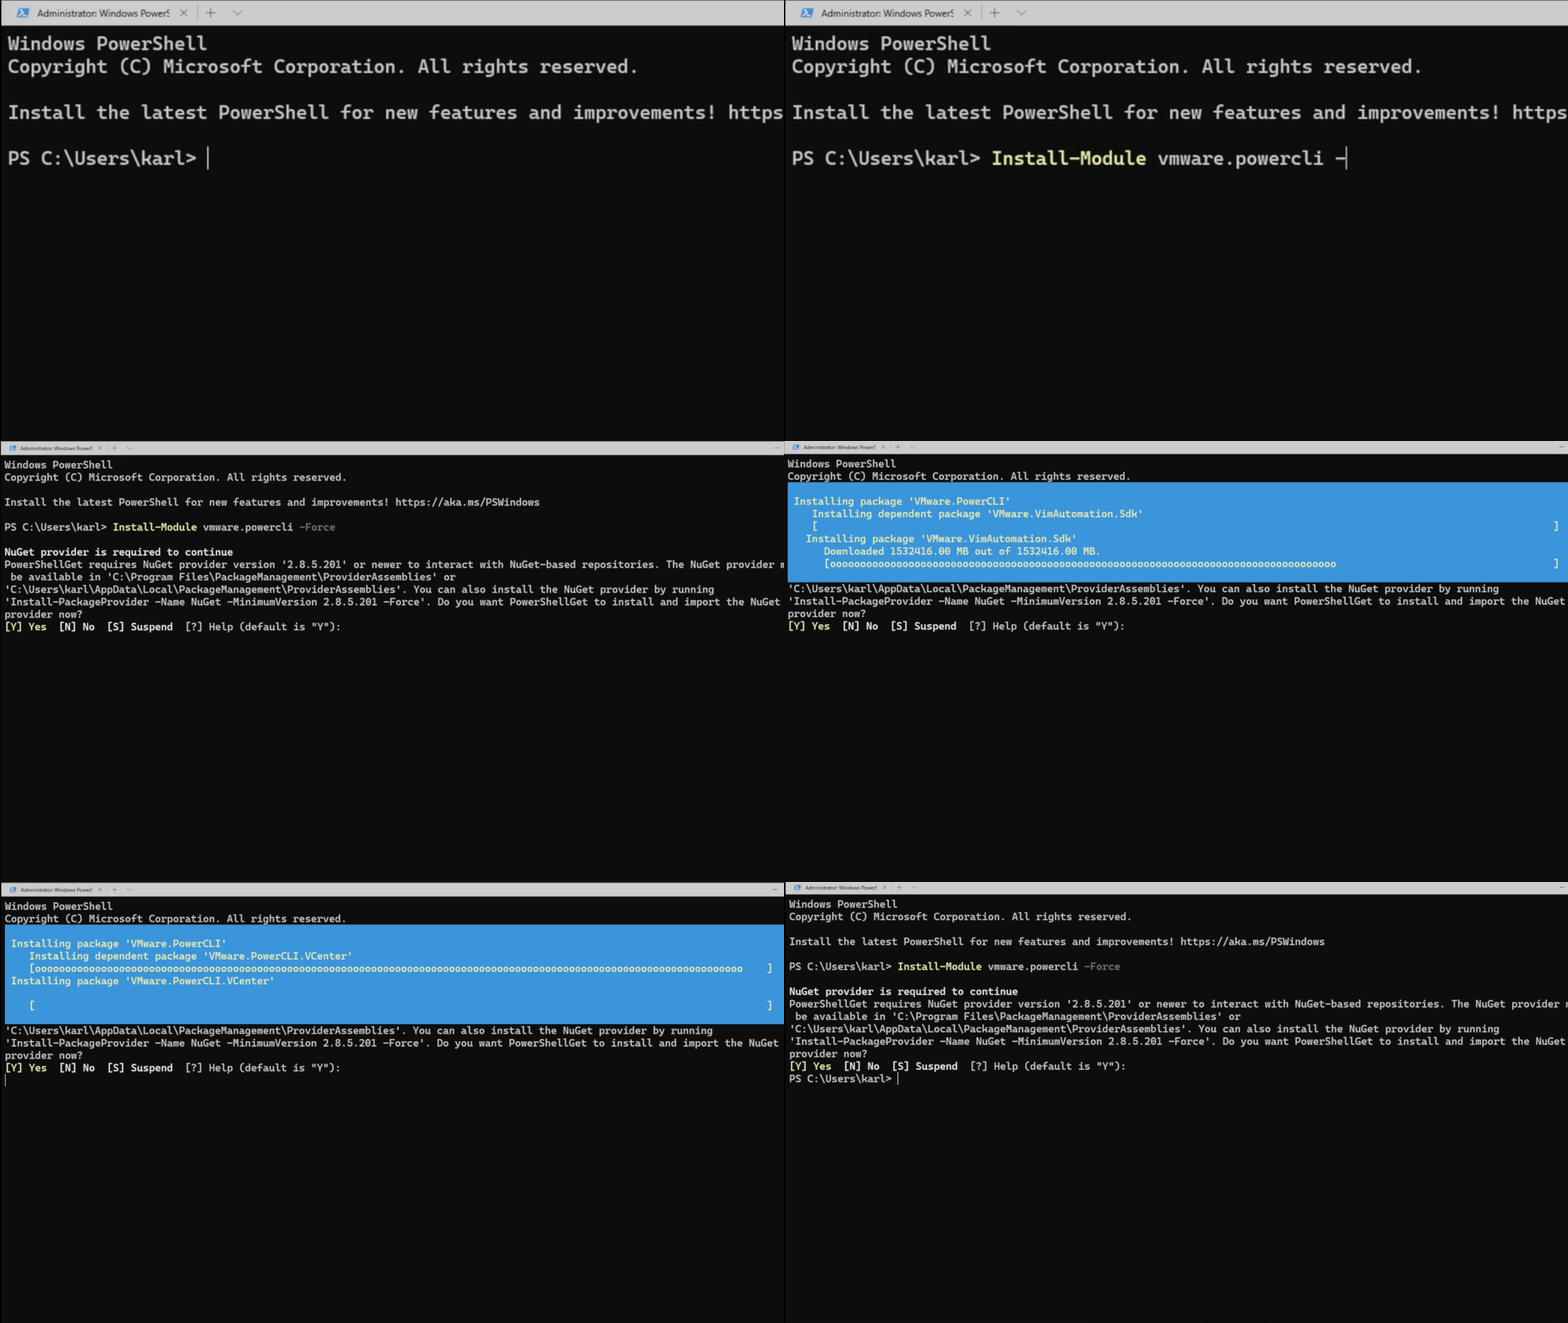
From my computer, I’ll open PowerShell as an Administrator and install the VMware PowerCLI module from the PS Gallery by typing:
Install-Module VMware.PowerCLI -Force

Initial Configuration of PowerCLI
Because this is my first time using a PowerShell module on this computer, I need to allow the execution of the module I’ve just installed.
For lab purposes, I’ll set the policy to Unrestricted.
Set-ExecutionPolicy Unrestricted
I’ll then opt out of the Customer Experience Improvement Program for all users:
Set-PowerCLIConfiguration -ParticipateInCeip $false -Scope AllUsers
And since my vCenter lab has a non-trusted SSL certificate, I’ll also need to set PowerCLI to ignore invalid certificates:
Set-PowerCLIConfiguration -InvalidCertificateAction Ignore
Connect to vCenter
Now all the prerequisites are filled, I can connect to vCenter.
I find it useful to store the credentials in a variable in case I need to later reconnect or connect to a different vCenter.
Store the vCenter credentials in a variable using the Get-Credential command.
$vscreds = Get-Credential
Then connect to the vCenter server1 using the credentials variable2.
Connect-VIServer -Server vcsa.breakdown.lab -Credential $vscreds