Following up on my last video how to export a VM to OVA template, now I’ll show how to deploy an OVA with PowerCLI.
Connect to vCenter Server
In my vm-templates folder, I have a Photon OS OVA that I will deploy to my lab vCenter cluster.
While you can export a VM to OVA from an ESXi host, PowerCLI does not support deploying an OVA to an ESXi host.
If you attempt to, it will show the error “Invalid URI” when running the Import-VApp command

The only supported option is to connect to the vCenter server.
Connect-VIServer vcsa.breakdown.lab
If you do not specify credentials with -Credential or previously have the credentials stored, you’ll be prompted for a username and password.
Import-VApp
The cmdlet Import-VApp will require at a minimum a source path for the OVA (string), and a VM host (VMHost object) and a datastore (datastore Object) to deploy it onto.
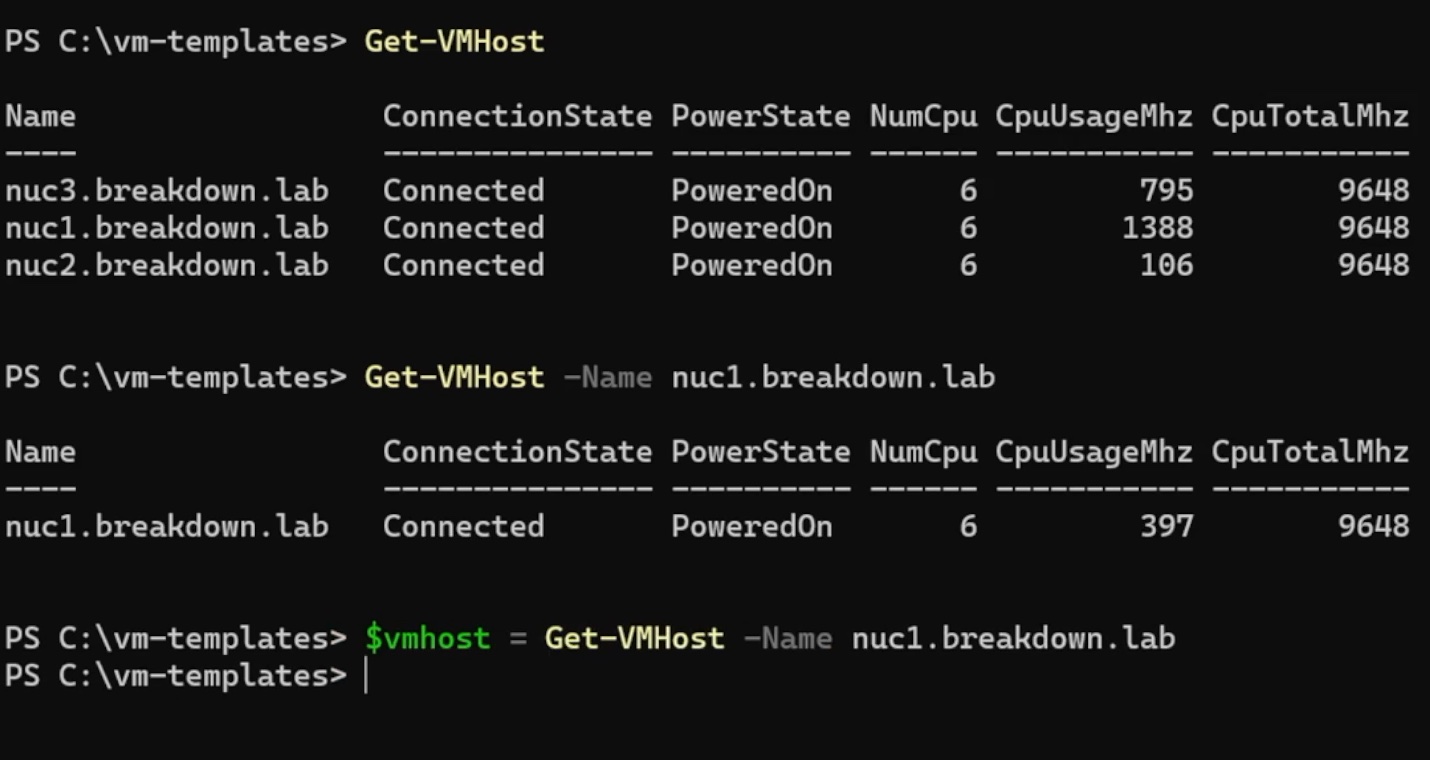
Get-VMHost will show all three hosts connected to vCenter, so I’ll choose NUC1 and assign the output to a variable.
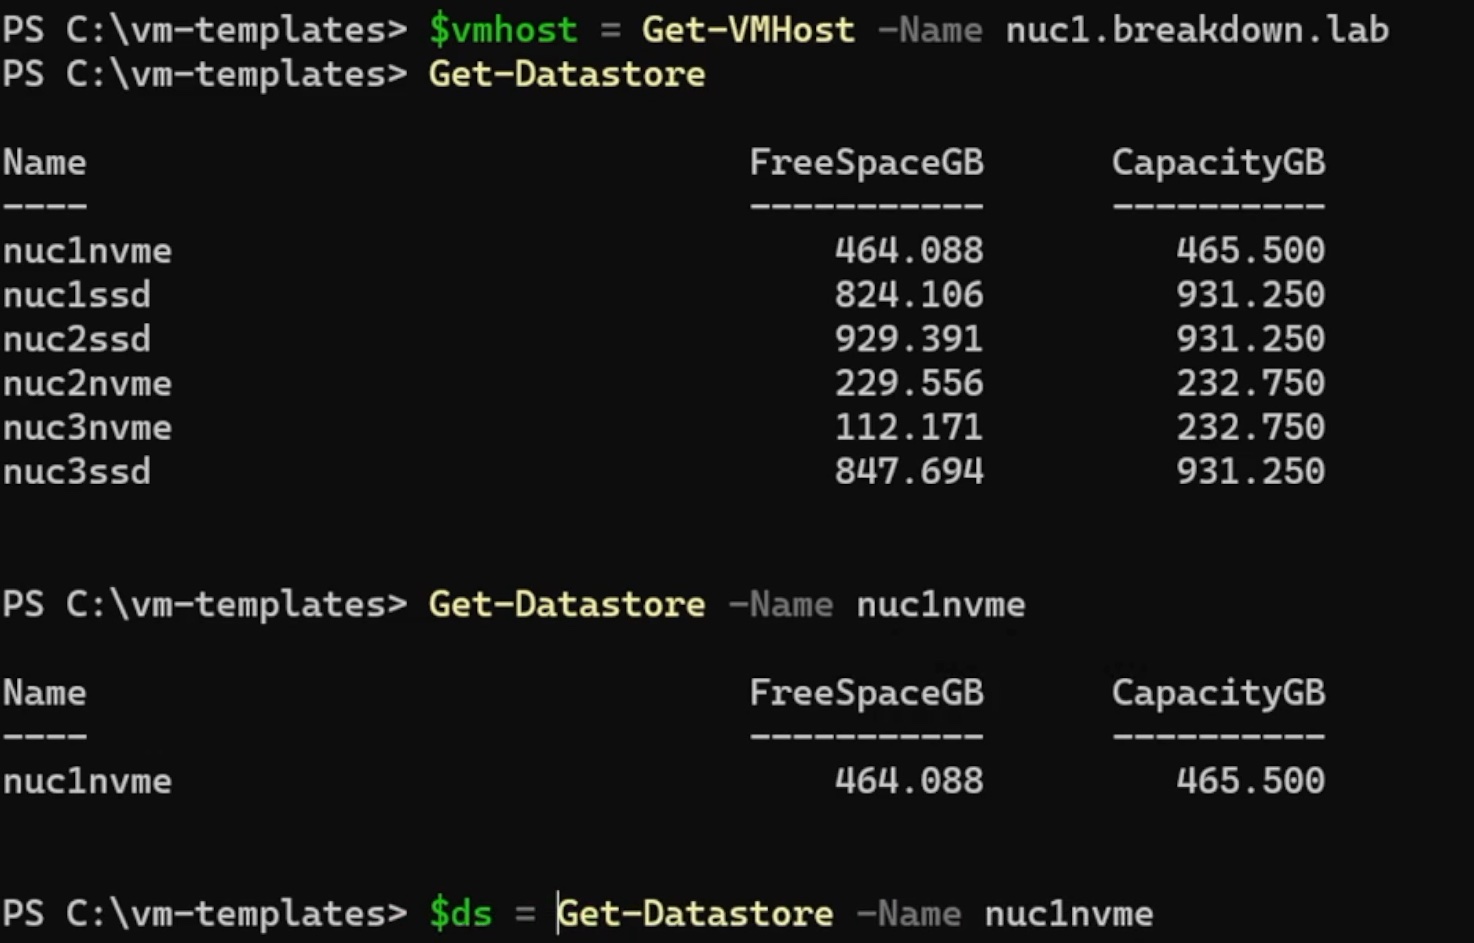
Similarly, Get-Datastore shows all of my VMFS datastores across the three hosts. I’ll choose the one named “nuc1nvme” and assign it to a variable.
Now I can run the Import-VApp command with the Source OVA path, destination VMHost, and destination Datastore.
Import-VApp -Source C:\vm-templates\photon-hw13-uefi-4.0-1526e30ba0.ova -VMHost $vmhost -Datastore $ds
Power On the Newly Deployed VM
After successful deployment, the VM can be powered on.
Start-VM -VM "Photon OS"
Extra Fanciness
There are many more options available with the Import-VApp cmdlet that will offer greater flexibility and control.
Additional Parameters
Here are some additional parameters and a brief description:
| Parameter | Description |
|---|---|
| DiskStorageFormat | Virtual disk storage format (i.e. think provisioned) |
| InventoryLocation | VM or Datacenter folder to keep things organized |
| Location | VApp, Resource Pool, or Cluster |
| RunAsync | Returns w/o waiting for task to complete. Useful w/ foreach loops |
OVF Configuration
If you want to fully automated the deployment, you can use an OVF hash table to specify a variety of things like which switch it’ll be connected to or how many vCPUs it’ll have.
$ovapath = "C:\vm-templates\photon-hw13-uefi-4.0-1526e30ba0.ova
$ovfConfig = Get-OvfConfiguration $ovapath
$vpg = Get-VDPortgroup "pg1"
$ovfConfig.NetworkMapping.Network.Value = $vpg
Import-VApp $ovapath -OvfConfiguration $ovfConfig -VMHost $vmhost
$ovfConfig.ToHashTable()
$ovfConfig = @{
    "NetworkMapping.VM Test Network"="Network 2";
    "vami.ip0.VM_1"="192.168.1.101";
    "vami.ip0.VM_2"="192.168.1.102"
}
Import-VApp $ovapath -OvfConfiguration $ovfConfig -VMHost $vmhost
Of course, you can always just edit the OVF directly with an editor like VS Code. On Windows, 7zip can extract the OVA. In Linux or MacOS, tar xzf template.ova will do the extraction.